Can I say 'wow' for just a minute here. I thought I had published this post months ago but to my horror, when I went to write a post about the recent updates to our hearth, I rediscovered it. So, please forgive the delay- I will promptly remedy that plus add the most recent updates as well. Prepare yourself for one bear of a post.
One Sunday morning back in the middle of September, we were heading to the Tunbridge Fair and wanted to be sure and get our hearth pad finished so it would have plenty of time to set before placing the 450 lb wood stove on it come Friday evening. We mixed the first batch of thinset, approximately the viscosity of clay (with heavy stones you want to be sure not to mix it too thin or it will all just get smooshed out before you can set and level it), and let it sit for 5-10 minutes as instructed by the directions on the bag. While it was sitting we went out to the barn to feed the girls.
We returned to the thinset, Kyle gave it a final, quick stir and we went inside to get down to business. As I am the resident tiling expert (having tiled our bathroom floor with the help of my Mom apparently makes me the expert *sarcasm*) I was delegated to applying the thinset to the cement board. I put it on thick, as I mentioned before, these stones are heavy and we wanted to be sure to have enough thinset below the stones to have "wiggle room" to be sure it was perfectly level. Once I had it spread out a bit to be sure it would reach all the corners, Kyle laid down the stone. This is where the painstaking process of leveling the stone came into play. Kyle literally stood on the stone and jumped up and down until the thinset oozed out the sides and corners and would jump on certain areas depending on which side needed to be lowered to level it out.
*I'm sure most seasoned masons wouldn't recommend this course of action, but as we had no rubber mallets on hand (not sure if that would have even worked really) and no other/better ideas, that is the way we went.*
Once the first stone was set in place and the excess thinset wisked away from the edges (it was a constant battle to keep the floor and the faces of the stones "cleanish" during this process) we moved on to setting the next stone. Because these stones were a little irregular we had to be sure that they were not only level, but at the same height as well. It took some finessing, but we ended up with a great finished product. We were sure to clean out between the stones where we'll be putting grout and we washed the tops of the stones one last time before calling it quits for the day.
After we let the thinset cure for a few days we went back to work. We filled in the spaces between the stone with dark gray grout and took out the door behind the hearth. We needed to get some cement board up to support the tile we would eventually put up.


Getting the stove and chimney installed took a little longer than we had anticipated. It seemed like every time we had a date scheduled with the guy doing the install, it would inevitably rain that day, causing further delay. But, after a couple days of clear weather we had a fully installed wood stove ready to go.
We left it like this for a couple months before actually tackling the project again. After all, we did have the dining room renovation to tackle as well, and as that was more of an eyesore it had higher priority. But, the end of November found us back at the hearth.
My father and step-mom came up for Thanksgiving and it seems like every time they stay with us my hubby and dad tackle some sort of project together. This time they got to work on a mantel. Yep, thats right, we don't have a fireplace but we DO have a mantel. It might sound like an odd combination, but trust me, it was exactly what was needed on that wall to keep it interesting behind the wood stove. Kyle had a bunch of wood in the workshop that he had salvaged from around our house so the project took nothing but time and a little bit of stain and urethane we already had!
Despite how it looks in this picture, the mantel really IS level...I didn't realize my picture-taking mistake until just now- oops!
We lived with it just like this for a few weeks, maybe even a full month before we got around to dealing with the tile. My mom and step-dad came down a couple weeks ago to help out. We had a few days of warm weather where we felt alright about taking the stove out of commission and using our furnace in order to allow the thinset and grout to set well without drying out too quickly. Kyle was off to his sister's house for yet another Christmas celebration (we average around 5 or 6) and as I am officially done riding around in the car unless absolutely necessary I skipped out and supervised the tiling instead.
A few hours and some head-scratching later (there were some small irregularities to the cement board due to the spacers behind it that wreaked some havoc for a tile or two- after whittling away at it a bit we were able to continue on) all the tile was up and looking gorgeous. Kyle took care of the grout a couple days later. The only thing left to do is to put up some wood trim around the bluestone hearth pad, and around the inside of the mantel where it meets the tile. We also need to tackle the wall above the mantel at some point, but I think we have agreed that we'd like to paint it some sort of accent color instead of doing more tile to keep it looking really special. I'm leaning towards a rust color that would bring out some of the brownish reds in some of the slate that we put up. But we shall see.
So, without further ado, I present to you our "finished" product:
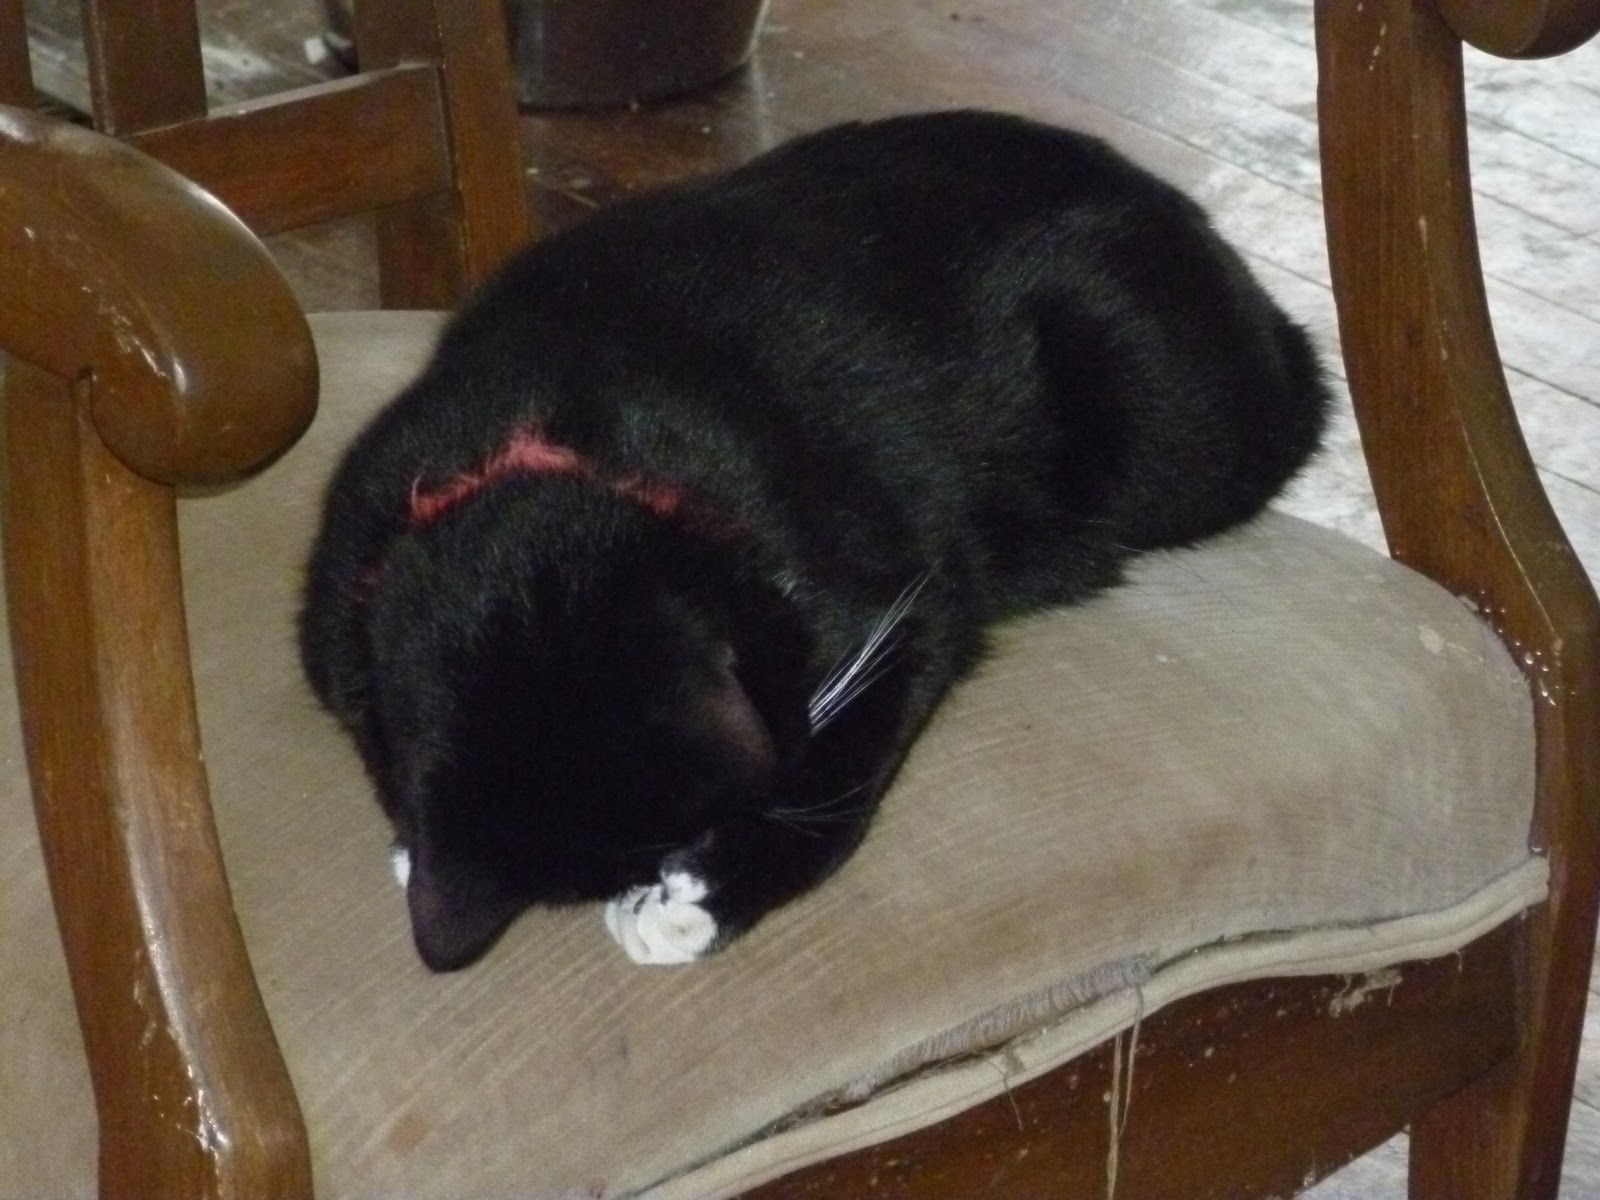
Pretty sweet, don't you think? And in case you didn't notice, we're not the only ones enjoying our wood stove. Yep, the cats LOVE to lay in the rocking chair we have in front of it. This is Atticus taking a nap- I think the stove was a little hot so he had to cover his face...hence the "no pictures please" pose.